

Changing your transmission fluid is one of the most important – yet often neglected – tasks to keep your vehicle running smoothly.
While many motorists have their transmission serviced by a professional mechanic, this is a job that experienced DIYers can definitely tackle at home with some patience and the right guidance. Here’s a comprehensive step-by-step walkthrough for doing a complete transmission fluid change yourself.
Why is Changing Transmission Fluid So Important?
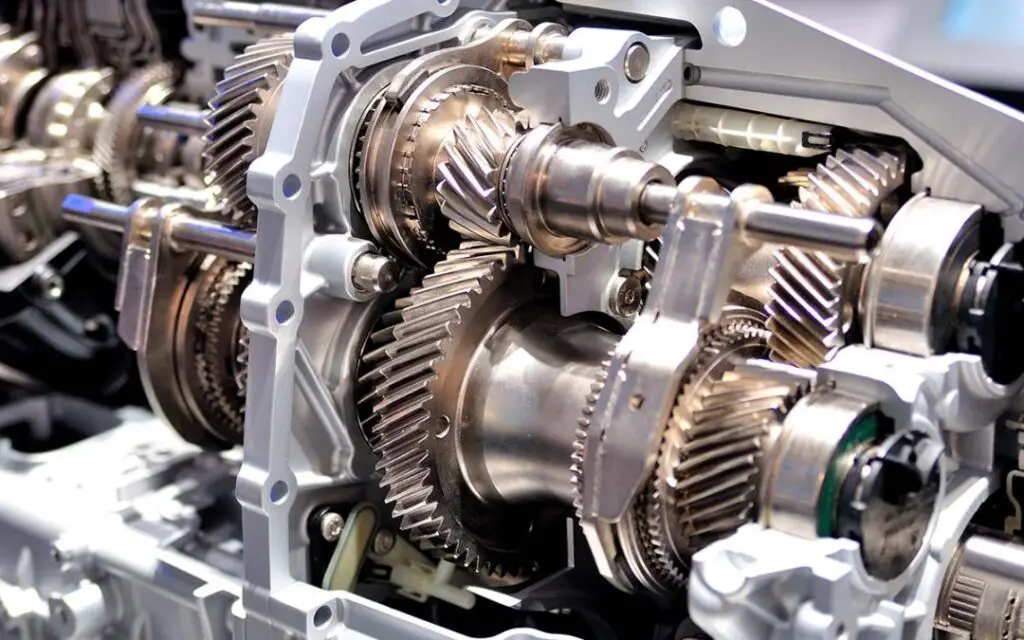
Over time and mileage, the transmission fluid that lubricates and cools your vehicle’s transmission becomes contaminated with tiny metal shavings, clutch material, and varnish buildup from heat cycling. This old, degraded fluid loses its ability to properly lubricate the intricate components inside the transmission. That leads to increased friction, heat, and wear that will ultimately cause very costly internal damage and failure down the road.
Neglecting to change your transmission fluid according to the manufacturer’s recommended intervals is simply asking for an expensive rebuild or replacement. Flushing out the old, dirty fluid and replacing it with fresh lubricant every 30,000-60,000 miles (check your owner’s manual) is the best way to maximize your transmission’s lifespan.
What You’ll Need Before getting started, gather all the necessary tools, parts, and supplies:
- Vehicle service manual or repair guide (helpful but not absolutely required)
- Jack and jack stands or car ramps to safely lift the vehicle
- Large drain pan to catch used fluid (drain capacity is often 5+ quarts)
- Torque wrench
- New transmission fluid filter
- Fresh transmission fluid (check manual for type and quantity needed)
- Lubriplate or other gasket sealant for the filter gasket
- Rags and gloves
- Funnel
- Rubber mallet (possibly needed to break drain plug loose)
Warming Up the Transmission
First Before starting the drain process, some mechanics recommend allowing the transmission to warm up first by driving the vehicle for 5-10 minutes.
This helps the fluid circulate and become less viscous so it will drain out more easily and completely. However, you don’t want the transmission to get too hot – let it cool down for at least 30 minutes after driving before attempting to drain the hot fluid, which could cause burns.
Step 1: Lift and Support the Vehicle
The first step is to safely lift and secure the vehicle to gain access to the transmission components underneath.
Consult your vehicle’s service manual for the proper jacking points and safety precautions. Avoid working under a vehicle supported only by a jack – use jack stands or drive solidly onto ramps. Allow the transmission to fully cool before starting to prevent burns from hot fluid.
Step 2: Locate the Drain Plug and Filter
Once the vehicle is securely in the air, locate the drain plug on the bottom of the transmission housing. It’s usually a large bolt or plug.
Also find the location of the transmission filter housing – it may have a different location than the engine oil filter.
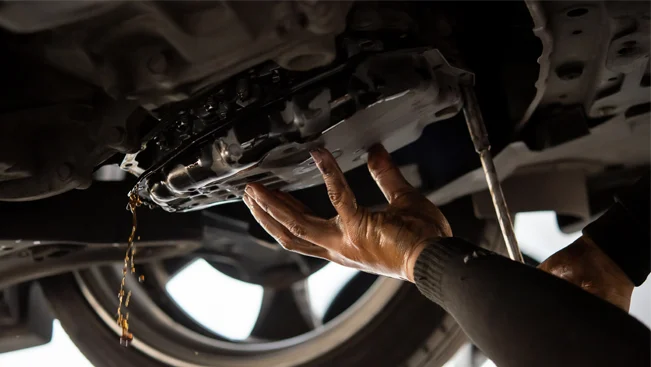
Step 3: Drain the Old Fluid
Position the drain pan underneath the drain plug, then loosen and remove it completely to allow the old fluid to drain out. Be prepared for a large volume – transmissions often hold 5 quarts or more.
You may need to loosen the fill plug on top to allow air flow for better drainage.
Step 4: Replace the Filter
Once fully drained, locate and remove the transmission filter housing according to your repair manual instructions. This commonly involves unbolting it and pulling straight down.
The used filter screen will likely be caked with sludgy debris – this is good motivation to never let it go too long between services! Install the new filter using fresh gasket sealant, tightening according to torque specs to avoid leaks.
Step 5: Reinstall the Drain Plug
After the transmission is fully drained, thoroughly clean off any debris and apply new sealant to the drain plug threads before reinstalling it. Tighten to the proper torque value – not too tight!
Step 6: Refill with New Fluid
Now you’re ready to refill the transmission with new fluid through the fill tube or dipstick tube. Slowly add the specified type and amount for your vehicle according to the repair manual, taking care not to overfill. Installing a long funnel helps avoid making a mess.
Step 7: Start Engine and Top Up
With the new fluid added, you’ll want to start the engine and allow it to run for 1-2 minutes so the pump can circulate the fresh lubricant while slowly topping up the fill level as needed. Don’t overfill!
Step 8: Check Level and Test Drive
Once the transmission is properly filled according to the dipstick, you’re ready for a road test. Go for a short 5-10 minute drive, bringing the transmission up to operating temperatures and cycling through all the gear ranges.
Then allow to fully cool, recheck fluid level (adding if needed), and repeat the drive cycle 2-3 times until levels stabilize.
A Few Additional Tips:
- Make sure to properly dispose of old fluids and parts according to local regulations
- Inspect transmission cooler lines and consider flushing the cooler as well
- For higher mileage vehicles, consider having a transmission flush done first to fully flush out debris and sludge build-up
- Refilling can often take more fluid than you’d expect – have extra on hand
- If you discover any leaks, broken components, or metal debris during the process, further diagnosis will be needed
While this is certainly a more involved job than a basic oil change, many DIYers find that changing their transmission fluid provides great peace of mind and saves a good chunk of change versus having it done by a shop.
Also Read:
- Understanding Car Differentials – The Unsung Heroes of Your Vehicle
- Why is My Transmission Overheating?
- The Innovative DCT Transmission: Shifting the Future of Automotive Performance
- Transmission Slipping: A Comprehensive Guide
Just take your time, have patience, and don’t hesitate to pull out the repair manual when feeling unsure of any step. With some careful work, you’ll be rewarded with a transmission that shifts like new and lasts for miles to come!

[…] The Complete DIY Guide to Changing Your Transmission Oil […]
[…] The Complete DIY Guide to Changing Your Transmission Oil […]